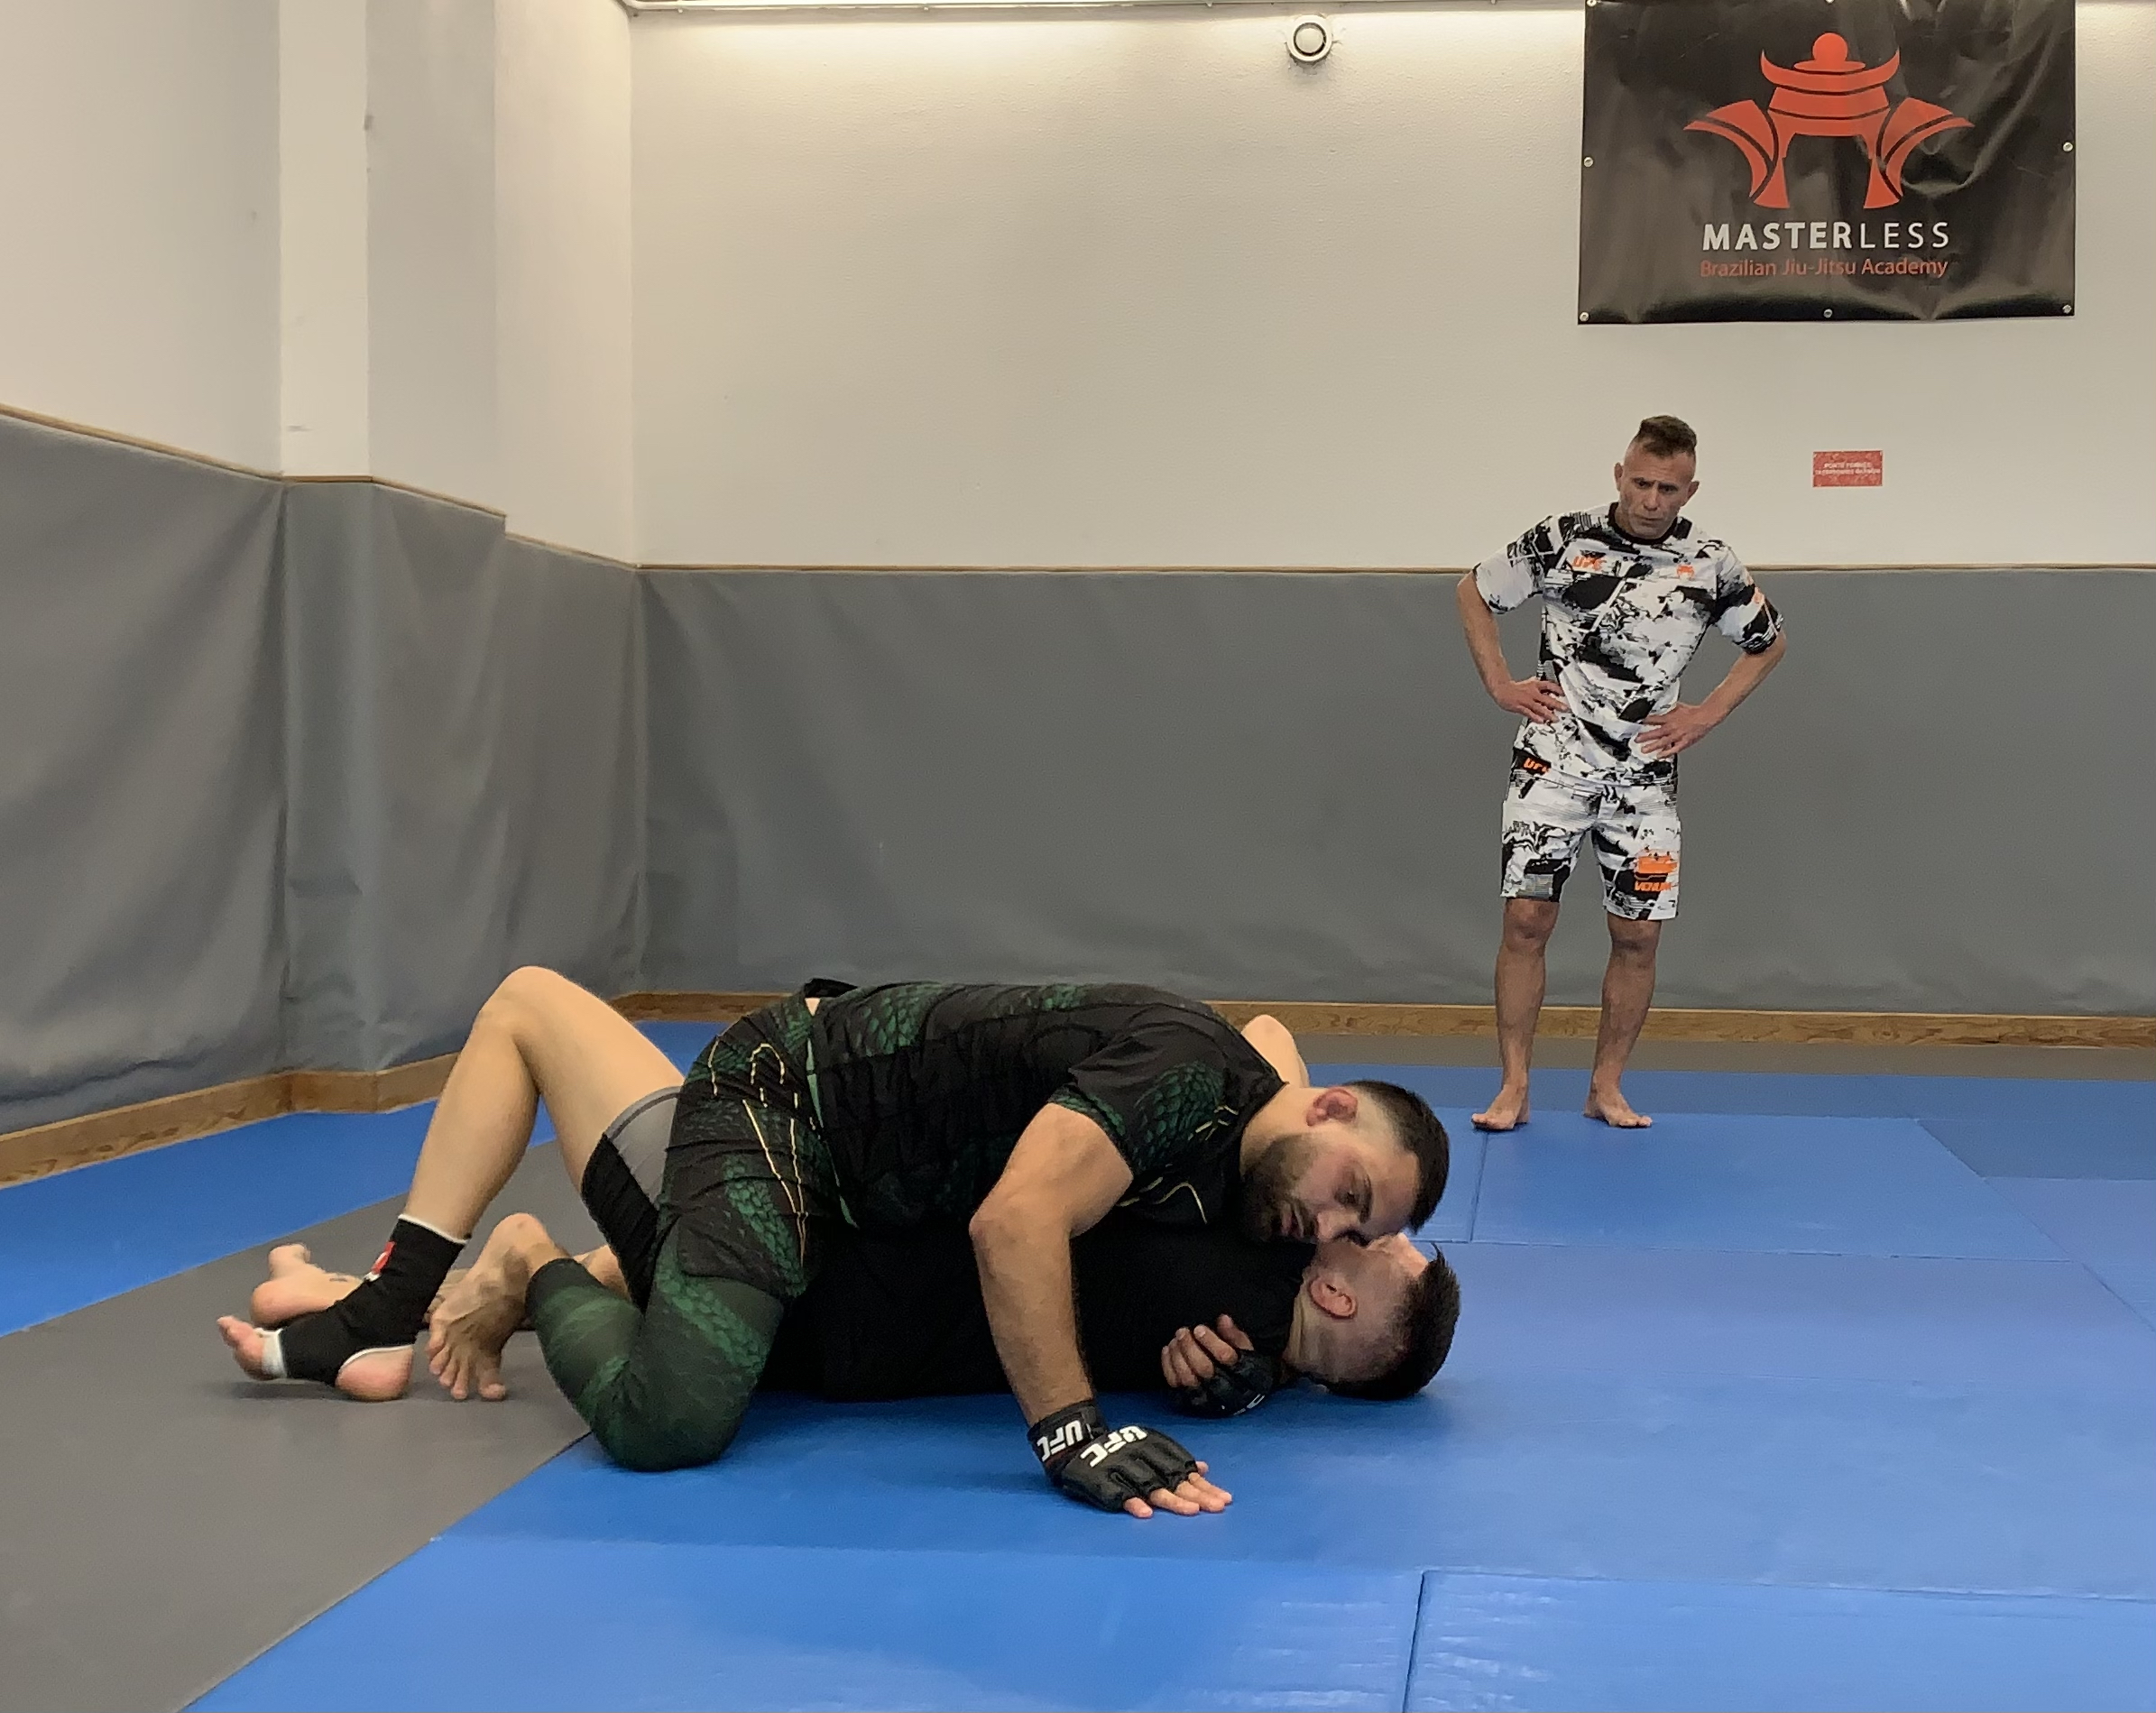
Few positions feel as helpless as being mounted. Your opponent sits on your chest, gravity is on their side, and every submission they want is right in front of them. But "feels hopeless" and "is hopeless" are very different things. Two reliable escapes — the bridge-and-roll and the elbow-knee escape — get you out of mount more often than you'd believe, and they work because of leverage, not strength.
First: protect yourself and stay calm
Before escaping, survive. Keep your elbows tight to your body to deny them the space to isolate an arm or set up a choke. Don't reach up and push on their chest with straight arms — that feeds you to the armbar. Breathe, stay compact, and wait for your moment to create movement.
Escape #1: The bridge-and-roll (upa)
The classic mount escape. It works best when your opponent is posted forward or going for a submission.
- Trap an arm. Pin one of their arms to your chest with both of yours so they can't post out to that side.
- Trap the same-side foot. Hook your foot over theirs so they can't step out for base.
- Bridge explosively up and over the trapped side, driving off both feet.
- Roll them over the trapped arm and foot — they have nothing to post with, so they go over, and you land in their guard.
The detail that makes it work: you must kill both their post points (arm and leg) on the same side before you bridge. Miss one and they'll base out.
Escape #2: The elbow-knee escape (knee-elbow)
Best when your opponent sits more upright and you can create space at your hips.
- Frame against their hips with your forearms
- Bridge to lighten their weight and make space
- Slide a knee through the gap between your bodies, pushing their leg with your elbow
- Recover half guard or full guard as that knee comes free, then continue out
These two escapes complement each other perfectly: if they posture up to stop the bridge-and-roll, they open the space for the elbow-knee escape, and vice versa. Learning them as a pair gives your opponent no safe option.
Drill them as a reaction chain
| If your opponent... | You hit... |
|---|---|
| Posts forward / attacks | Bridge-and-roll |
| Sits upright with space at hips | Elbow-knee escape |
| Defends the bridge by posturing | Switch to elbow-knee |
| Stuffs the knee | Re-bridge and roll |
Drilling the switch between them — flowing from one to the other as your partner reacts — is what turns two techniques into a real escape system. This is the same "chain off reactions" principle behind a strong closed guard.
Build the engine with solo work
Both escapes are powered by your bridge and hip movement. Sharpen them at home with solo bridging and shrimping drills so the athletic base is already there when you need it.
Make mount your project
If you keep getting stuck under mount, attack the problem deliberately: drill these escapes every session, note your progress in a training journal, and track the reps in DrillBuddy. Trap, bridge, roll — or frame, bridge, knee through. Get enough reps and being mounted stops feeling like a sentence.